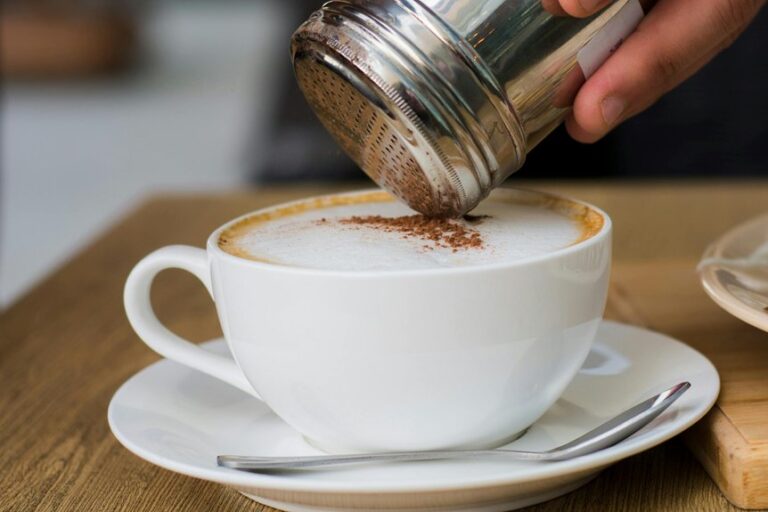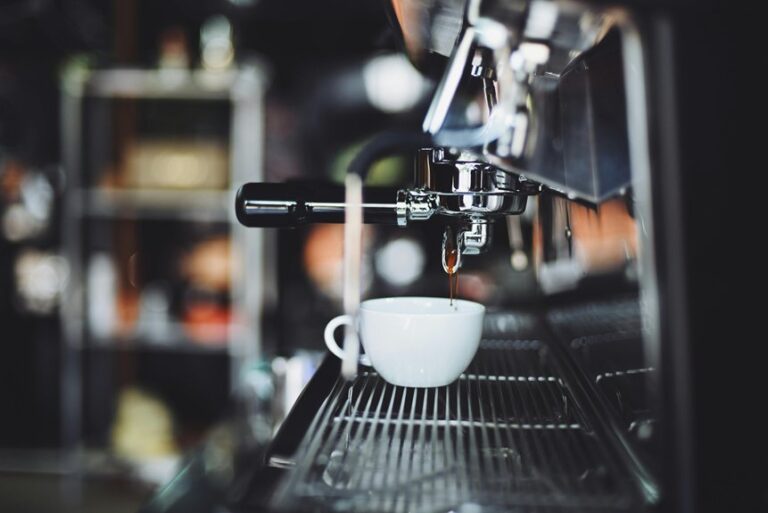

Espresso tastes balanced rather than bitter or thin when variables like beans, grind, dose, tamp, and brew ratio are controlled. Start with fresh, quality beans and dial grind size and dose precisely. Aim for a 25–30 second extraction and make small tweaks until the shot hits that window. Tiny adjustments often separate a weak pull from café-quality espresso.
Choose the Right Espresso Beans
Choose well-rested espresso beans for the best flavor and extraction. You should pick beans that suit your machine and taste goals, then trust the cup’s balance.
Fresh espresso blends often give you steady crema and body, while single-origin options let you investigate distinct origin stories with brighter acidity or layered sweetness. Check roast profiles carefully: medium to medium-dark roasts usually support espresso’s pressure and concentration without tasting harsh.
Buy beans roasted recently, but let them degas for several days before brewing. Should you want consistency, choose a blend from a roaster with clear sourcing and roast dates. You’ll fit right in among baristas once you select beans for repeatable sweetness, clean finish, and enough structure to withstand extraction.
Dial In Your Espresso Grind Size
Dial in your espresso grind so the shot pulls evenly and at the right speed. Start with a fine setting, then adjust in small micron adjustments until extraction lands in the 25-30 second window.
In the event the shot gushes, make the grind finer; in the event it stalls, coarsen it. Check grind distribution in the basket before tamping, because clumps and voids create channeling and uneven flow.
You want a uniform bed that resists water evenly, so every sip feels balanced and familiar. After each change, pull one trial shot and record the aroma, crema, and body.
Keep the grinder clean and repeatable, since heat and retention can shift your results. Trust the process, stay precise, and you’ll brew like part of the barista crew.
Dose Espresso Consistently
Weigh your dose before you tamp so every shot starts from the same coffee mass. You’ll build brew consistency provided you target the same gram weight every time and account for grind retention in the grinder chute. Keep a scale under the portafilter, tare it, then grind directly into the basket. Should your grinder hold grounds, purge enough to clear stale coffee before dosing.
| Target Dose | Shot Size | Check |
|---|---|---|
| 10 g | Single | Match recipe |
| 18 g | Double | Verify scale |
| 20 g | Double | Purge retention |
| ±0.2 g | Any | Acceptable drift |
Dose evenly, then compare each output. Once you belong to a disciplined workflow, your espresso stays repeatable, balanced, and easier to troubleshoot.
Tamp for an Even Puck
Level the coffee bed before you tamp so the puck compacts uniformly across the basket.
Apply steady, vertical pressure of about 30 pounds, and keep the tamper square to the surface.
Check the edges for gaps or loose grounds, since uneven contact can cause channeling during extraction.
Level the Coffee Bed
Distribute the grounds evenly in the portafilter before you tamp, because an even coffee bed helps prevent channeling and promotes balanced extraction. Use grind distribution and puck leveling to create a flat, uniform surface that your tamp can compress consistently. | Step | Action |
| — | — |
|---|---|
| 1 | Shake the portafilter gently |
| 2 | Tap the sides lightly |
| 3 | Sweep excess grounds inward |
| 4 | Check for low spots |
| 5 | Confirm a level rim |
When you level the coffee bed, you join the workflow that skilled baristas trust. Keep the surface flush from edge to edge, especially near the basket walls. A level puck lets water meet resistance evenly, so your shot stays organized and repeatable. In the event grounds mound on one side, redistribute them before tamping. After leveling, the bed should look flat, dense, and ready for an even press.
Apply Steady Pressure
Press the tamper straight down to compress the leveled grounds into a firm, even puck. Keep your wrist technique locked, your forearm vertical, and your shoulder relaxed so the force travels straight through the basket.
Use steady pressure calibration rather than a hard push; about 30 pounds gives you consistency, but your goal is repeatability, not strain. Hold the tamper level as you finish the press, then release cleanly without twisting.
You’re building a tight, uniform bed that helps the shot flow evenly through the coffee. When you tamp the same way every time, you join the habits of skilled baristas who value control, precision, and calm confidence.
With practice, your pressure becomes smooth, measured, and dependable, shot after shot.
Check for Edge Gaps
Check the puck’s perimeter before you lock in the shot, because tiny gaps at the basket edge can trigger channeling and uneven extraction. You want a flush, level surface that meets the basket wall all the way around.
After tamping, rotate the portafilter under light for edge inspection; look for loose grounds, a crescent-shaped void, or a visible seam near the rim. Should you spot one, re-dose, redistribute, and tamp again with controlled pressure. Don’t twist hard after compression, since that can break the puck. Keep an eye on basket fit and gasket wear, too, because worn parts can let water slip around the edges.
Once you build this habit, you join the same disciplined workflow that steady baristas rely on for balanced shots every day.
Set the Right Brew Ratio
You’ll set your brew ratio via matching the coffee dose to the extracted espresso yield, with 1:2 as the standard starting point.
Use a scale to measure both inputs precisely, so 20 g of coffee produces about 40 g of espresso for a double shot.
From there, adjust the ratio slightly to sharpen acidity or increase body based on taste.
Understanding Brew Ratios
To set the right brew ratio, start with the standard espresso target of 1:2 coffee to liquid output, which gives you a balanced shot with good strength and extraction.
You’ll join the core espresso workflow through using centered ratios, not guesswork.
In the event you dose 18 grams, aim for about 36 grams in the cup; this keeps flavor and intensity aligned.
Tighter ratios, like 1:1.5, push body and sweetness, while looser ratios, like 1:2.5, brighten acidity and thin texture.
Those tasting implications matter because they guide your adjustment within the team of flavors you want.
Keep the ratio consistent shot to shot, then refine it once the cup tells you the balance is off.
Measuring Coffee and Water
Once you’ve chosen a brew ratio, measure both the coffee dose and the brewed output with precision so the numbers match the recipe. Use scale calibration before every session, then tare the portafilter and cup. You’ll keep the shot in your target zone and feel confident with the crew. Record dose, yield, and ratio like this:
| Dose g | Yield g | Ratio |
|---|---|---|
| 18 | 36 | 1:2 |
| 19 | 38 | 1:2 |
| 20 | 40 | 1:2 |
| 18 | 45 | 1:2.5 |
Hold water hardness steady with filtered water, since mineral swings alter flow and measurement consistency. Whenever you weigh accurately, you build repeatable espresso and belong to a barista routine that’s tight, shared, and professional.
Adjusting for Taste
In case the shot tastes sour, push the brew ratio longer; should it taste bitter or thin, shorten it.
You’re tuning extraction through taste profiling, so change one variable at a time and record the result.
Start near 1:2, then make cup adjustments in small steps, like 1:1.8 for more concentration or 1:2.2 for more yield.
In the event acidity stays sharp, extend contact a few grams or seconds.
Should bitterness rises, cut the shot earlier and keep the flow steady.
Taste with the same cup, temperature, and milk plan, because consistency helps you belong to the craft.
Use your scale and timer, take note crema, body, and finish, then repeat until the cup reads balanced and clear.
Time Your Espresso Shot
Start your timer the moment you activate the pump or lever, because shot time is one of the clearest indicators of extraction quality. Track shot timing with a scale and timer so you can connect yield to flow. For most doubles, target 25–30 seconds from initial drip to cutoff, then compare that window with your recipe. Should your shot races, tighten grind or improve puck prep; in case it drags, coarsen slightly or reduce dose.
Stay consistent with your extraction rhythm: dose, distribute, tamp, start, observe, stop. That routine helps you brew like the crew. Don’t chase time alone; pair it with your set ratio and temperature so every pull stays intentional. With practice, you’ll read the clock and dial in repeatable shots.
Recognize a Proper Espresso Extraction
You should target an ideal brew time of 25–30 seconds for a balanced extraction.
Watch the crema for a rich hazelnut color and a fine, even texture, since pale or blotchy crema often signals a fault.
The flow should start smoothly, then form a steady stream without spurting or dripping, which shows proper balance between grind, dose, and pressure.
Ideal Brew Time
A proper espresso extraction usually finishes in 25 to 30 seconds, producing a balanced shot with strong body, crema, and concentrated flavor.
You’ll know you’re in the sweet spot whenever the stream looks steady, not rushed, and the taste lands clean and sweet.
Should your shot runs fast, grind finer; should it drag, grind coarser.
Keep your dose, tamp, and pressure consistent so you can read time accurately.
- Watch the timer from the initial drip.
- Match brew time with a 1:2 ratio.
- Take into account cup temperature, because a warm cup helps preserve texture and aroma.
Good machine maintenance supports repeatable timing, so clean your basket and screen regularly.
With practice, you’ll pull shots like the crew you want to belong to.
Crema Color And Texture
Crema should appear as a thin, elastic layer with a hazelnut-to-caramel color and fine, uniform bubbles, which signals proper pressure, grind, and extraction. You’ll see a glossy surface that holds briefly, not a pale, thin ring or a dark, mottled crust.
Use sensory descriptors to judge quality: look for even tone, tight texture, and a resilient sheen. Healthy crema often shows subtle microfoam contrast between the liquid body and the foam cap, giving your shot a clean, cohesive finish.
Should the layer look patchy, overly light, or rapidly collapse, your extraction likely missed the target. Trust this visual cue as part of your barista routine, and you’ll read each shot with confidence, precision, and the shared language of espresso craft.
Flow Rate And Balance
Watch the espresso stream as it leaves the spouts: a proper extraction starts as a thin, steady drizzle, then settles into a smooth, honey-like flow without spurting or blonding too soon.
You’re aiming for flow stability and pressure consistency, so keep the machine at 9 bars and avoid channeling in the puck.
- In case the stream snaps or sprays, your grind is too coarse or your tamp is uneven.
- In the event it crawls, chokes, or drips, your grind is too fine or the dose is too high.
- Should the flow turn pale prematurely, stop the shot; balance is slipping.
Trust the cup, too: a well-balanced shot tastes sweet, concentrated, and integrated.
Once you dial this in, you’re not guessing—you’re brewing like you belong behind the bar.
Tweak Espresso Pressure and Temperature
Dial in pressure and temperature together, because they shape extraction more than almost any other variables. You want about 9 bars at the puck, but don’t treat that as fixed; use pressure profiling to ease in with preinfusion, then build to full pressure for steadier flow.
Should your machine runs hot, try temperature surfing so you hit the brew window near 195°F to 205°F. Small shifts change acidity, sweetness, and body, so adjust one variable at a time and taste each shot.
Whenever shots run sharp, lower heat slightly; whenever they taste thin or sour, raise it a touch. You’re part of the craft now, so keep a log, trust your palate, and refine both settings until your espresso lands balanced, dense, and clean.
Steam Milk for Café Drinks
Steaming milk is where espresso turns into café drinks, so start with cold milk in a clean pitcher and purge the steam wand before you begin.
- Position the wand tip just under the surface, then open steam fully.
- Keep a slight pitcher angle so the milk swirls and pulls in air.
- Lower the pitcher as the volume expands, then sink the tip to heat and polish the texture.
Use the microfoam technique to create a glossy, paint-like sheen with tiny bubbles, not foam that sits on top. Stop once the pitcher feels hot but still touchable, around 150°F to 160°F.
Tap and swirl once, then pour with confidence. You’ll build café-level drinks and feel at home behind the machine.
Fix Common Espresso Mistakes
Whenever your espresso tastes sour, bitter, or thin, you can usually trace the problem to grind size, dose, tamping, water temperature, or extraction time.
Start machine diagnostics starting with checking your burr grinder and scale, then adjust one variable at a time.
Should the shot run fast and tastes sour, make the grind finer or increase dose.
In the event it drips slowly and turns bitter, go coarser, lower temperature slightly, or shorten the pull.
Level the puck in the brew chamber, tamp with steady pressure, and keep the basket clean.
Aim for 9 bars and a 25-30 second extraction with a 1:2 ratio.
You’re part of a craft that rewards precision, so trust the data, not guesswork.