
Imagine the delight of creating a velvety milk foam that transforms your coffee into a café-style treat! Achieving that perfect foam requires the right technique and equipment. You’ll want to explore various milk frothers and find what works best for you. Get ready to elevate your coffee game!
Key Takeaways
Choose the right milk for frothing. Whole milk offers creaminess, while skim milk provides more volume. Non-dairy options like oat milk can also create great foam.
Master your frothing technique by controlling temperature and aeration. Aim for a frothing temperature between 140°F and 155°F for the best results.
Avoid common mistakes like overheating milk and using stale milk. Fresh, properly heated milk is key to achieving stable and delicious foam.
The Science of Milk Foam
Milk Composition
When you froth milk, its composition plays a big role in how well it foams. Milk contains proteins, fats, and minerals, all of which affect the final result. For instance, minerals like CaCl2 and MgCl2 can enhance foam strength and stability. On the other hand, K3Cit can decrease stability but increase foamability. This means that the type and concentration of minerals in your milk are crucial for creating that perfect milk foam.
Air Incorporation
Air is essential for creating foam. When you froth milk, you introduce air, which forms bubbles. These bubbles are what give your froth its texture. Here are some key points about air incorporation:
Proteins in milk, like whey and casein, denature and create structures that stabilize air bubbles during frothing.
The fat content influences the foam’s texture. Higher fat content leads to creamier foam.
Temperature matters too! Heated fat globules help stabilize air pockets, making your foam more stable.
If you don’t incorporate air properly, you might end up with a thick head of foam that’s hard to work with, especially for latte art. Remember, the right balance of air and fat is key to achieving that silky microfoam you desire.
Types of Milk for Frothing
When it comes to frothing milk, the type you choose can make a big difference in the quality of your foam. Let’s dive into the two main categories: dairy and non-dairy options.
Whole vs. Skim Milk
Whole milk and skim milk each have unique properties that affect frothing. Here’s how they compare:
Whole Milk: This milk has a higher fat content, which gives you a creamier foam. However, it produces less foam volume compared to skim milk. In fact, laboratory tests show that whole milk foam stability is lower due to minimal foam volume generated.
Skim Milk: On the other hand, skim milk creates a larger volume of foam—about 16 times greater than whole milk! The protein-to-fat ratio in skim milk is much higher (49:1), which enhances its foaming properties. This means you can achieve a light and airy froth that holds up well in your coffee.
Non-Dairy Options
If you prefer non-dairy milk, you have some great choices too! Here’s a quick look at how they stack up:
Key Findings | Description |
|---|---|
Foam Stability | Plant-based milks often have lower foam stability compared to dairy milk. |
Aeration Methods | Whisking can produce higher air volume fractions than steam injection. |
Viscosity Impact | Higher viscosity in foams leads to slower liquid drainage, enhancing stability. |
Protein Structure | Non-dairy milks with higher protein content, like soy and pea milk, create firmer foams. |
Oat milk is particularly popular for its creamy texture and ability to produce smooth foam. It foams well at lower temperatures, making it a favorite for many coffee lovers.
Choosing the best milk for frothing depends on your taste and dietary preferences. Experiment with different types to find your perfect foam!
Choosing a Milk Frother
When it comes to selecting the right frother, you have a few options to consider. Each type has its own strengths and weaknesses, so let’s break them down.
Manual Frothers
Manual frothers, like handheld whiskers, are popular for their affordability and simplicity. They’re great for those who want to froth milk without spending much. However, while they can create light foam, they often struggle to produce the dense microfoam you might find in a café. This happens because they lack consistent whisking and temperature control. If you’re on a budget, a manual frother can still do the job, but don’t expect café-quality results.
Electric Frothers
Electric frothers are a step up in convenience and performance. They excel at generating smooth and stable foam, making them a favorite among home baristas. For example, models like the Duronic MF500 can create professional-quality drinks with ease. Their ability to maintain temperature and whisk consistently sets them apart from manual frothers. If you’re looking for efficiency and quality, an electric frother is a solid choice.
Steam Wands
Steam wands are typically found on commercial espresso machines. They provide powerful steam pressure, which is essential for creating silky microfoam perfect for latte art. While home models can froth milk, they usually don’t match the steam power of commercial machines. This difference impacts the quality of frothing, as dedicated steam boilers in commercial machines excel at producing fine microfoam. If you’re serious about your coffee, investing in a good steam wand can elevate your frothing game.
How to Froth Milk
Frothing milk can seem tricky, but with the right approach, you can master it! Let’s break it down into three key areas: preparing your equipment, effective frothing techniques, and temperature tips.
Preparing Equipment
Before you start frothing, make sure your equipment is ready. Here’s a quick checklist to follow:
Ensure your frother is clean and assembled correctly.
For handheld frothers, check that the batteries are fresh.
If using a steam wand, ensure your espresso machine is turned on and the steam wand is clean.
Taking these steps will help you achieve the best milk foam possible!
Frothing Techniques
Now, let’s dive into some effective frothing techniques that professional baristas recommend. Follow this step-by-step guide to frothing milk:
Pick the Right Milk: Choose whole milk for the best results, or try barista series alternatives like oat milk for excellent frothing.
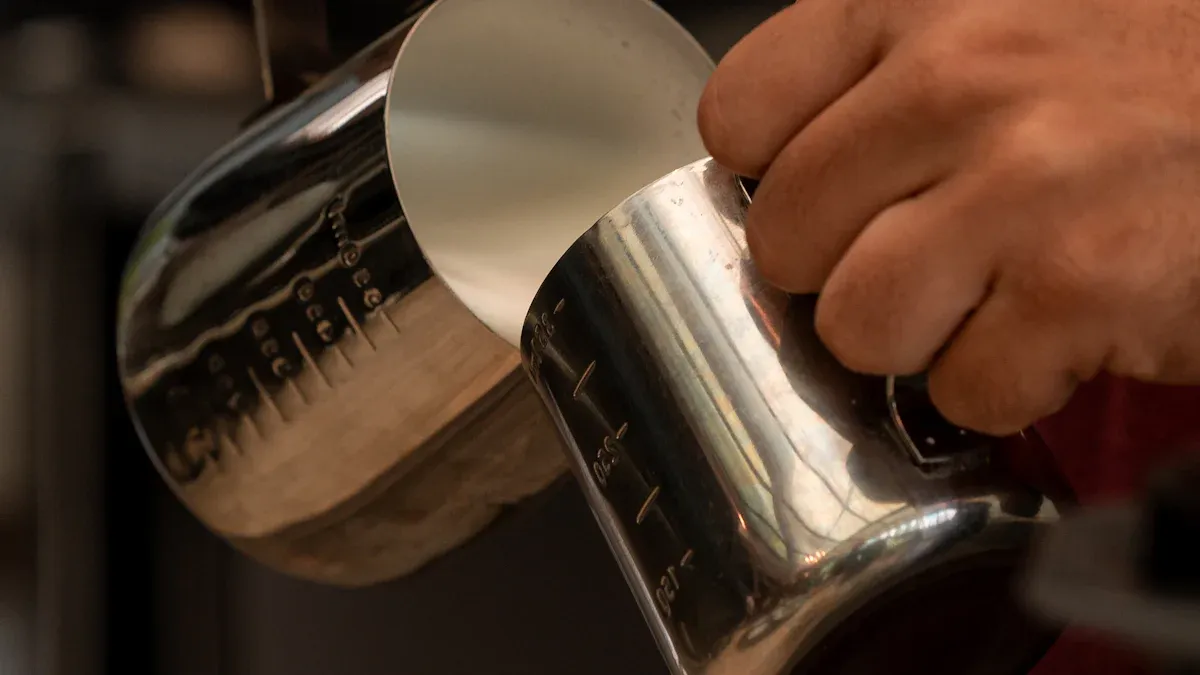
Mise en Place: Prepare everything in advance to prevent separation of crema and foam. Use cold milk and a sufficiently large pitcher.
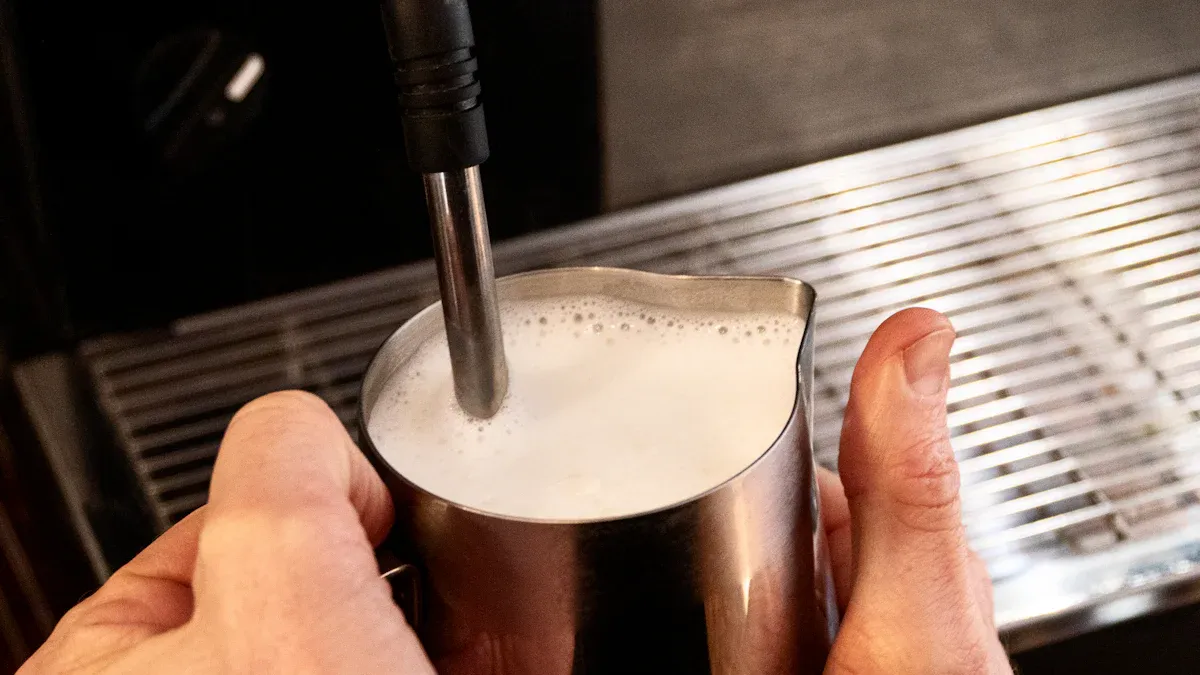
Steam Wand Positioning: Start with the steam wand submerged to create a whirlpool. Lower the pitcher until you hear the aeration sound to aerate the milk.
Aeration Control: Stop lowering the pitcher once you hear the aeration sound to avoid large bubbles. Adjust aeration time based on your desired foam level.
Heating the Milk: Raise the pitcher to submerge the steam wand tip for heating without adding more foam. Turn off the steam when the pitcher is too hot to touch.
Final Touches: Tap the pitcher to remove larger bubbles and swirl to integrate foam and milk before pouring.
Pouring Technique: Start pouring from a height to mix, then lower the pitcher to create a dot of foam on the surface.
These techniques will help you froth milk with a milk frother like a pro!
Temperature Tips
Temperature plays a crucial role in frothing milk. Here are some important points to keep in mind:
The optimal frothing temperature for milk is between 150°F to 155°F (65°C to 68°C).
Cold milk allows for more time to develop micro-foam bubbles, which are essential for good froth.
If the milk temperature is not optimal, it may not froth effectively.
To achieve the best foam texture, aim for a temperature range of 140°F (60°C) to 155°F (68°C). Heating the milk helps stabilize the foam, preventing it from collapsing quickly.
By following these tips and techniques, you’ll be well on your way to creating perfect milk foam for your coffee creations!
Tips for Perfect Milk Foam
Achieving Consistency
To create perfectly frothed milk, consistency is key. You want your foam to have a smooth, velvety texture every time. Here are some effective methods to achieve that consistency, whether you’re at home or in a café setting:
Method | Description |
|---|---|
Milk Steamer | A reliable tool for creating velvety microfoam by heating and incorporating air simultaneously. |
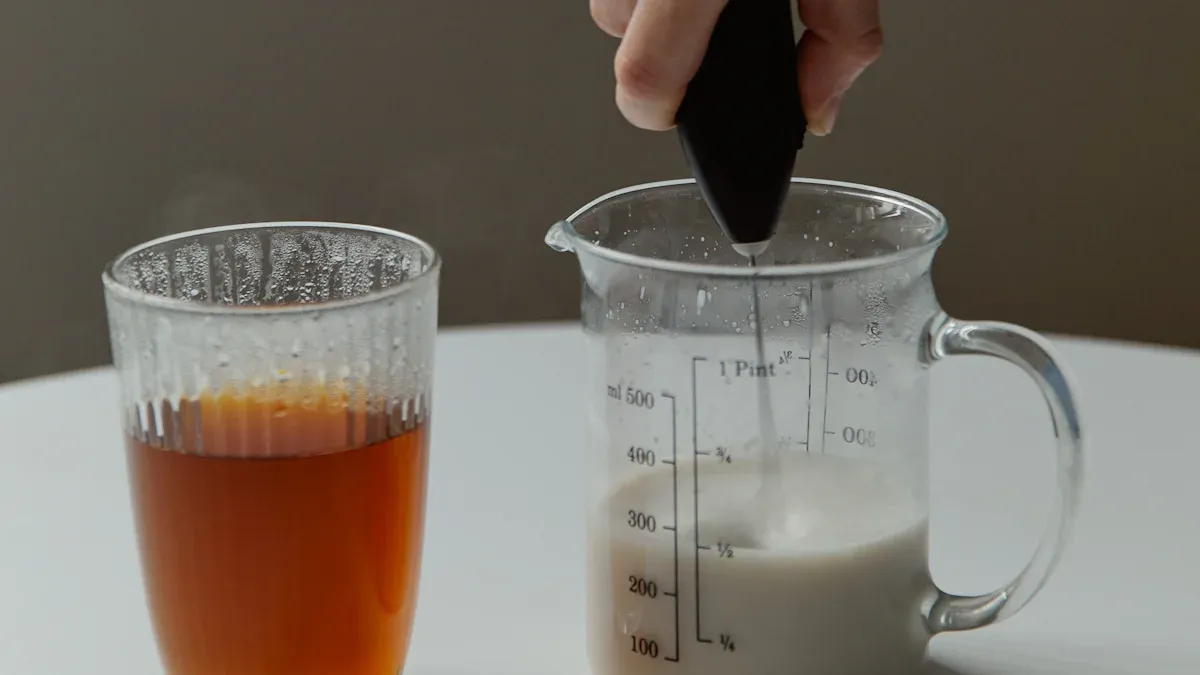
Handheld Frother | A compact tool that aerates milk quickly, ideal for small-scale operations. |
Hand Mixer | Reduces manual effort in frothing milk, allowing for adjustable foam density. |
Blender | Efficient for frothing large batches of milk quickly and easily. |
French Press | Uses a plunger to incorporate air, creating a frothy texture in the milk. |
Using these tools can help you achieve that rich, frothy foam you desire. Remember, practice makes perfect!
Timing and Temperature
Timing and temperature play a crucial role in the art of making milk foam. Research shows that the timing of steam frothing significantly impacts the stability and texture of your milk foam. For instance, foams produced from pasteurized whole milk are more stable and have better bubble distribution when heated to optimal temperatures between 50 °C and 60 °C.
Here are some tips to keep in mind:
Monitor Your Temperature: Aim for a frothing temperature between 140°F (60°C) and 155°F (68°C). This range helps stabilize the foam and enhances its texture.
Timing is Everything: Don’t rush the frothing process. Allow the milk to heat gradually to achieve the best results. If you froth too quickly, you might end up with large bubbles instead of the fine, silky foam you want.
Practice Your Technique: The more you froth, the better you’ll get at timing your aeration and heating. Experiment with different methods and find what works best for you.
By paying attention to these details, you can create perfectly frothed milk that elevates your coffee experience.
Common Frothing Mistakes
Overheating Milk
One of the biggest mistakes you can make while frothing milk is overheating it. When you heat milk beyond 155°F (68°C), you risk scalding it. Scalded milk loses its sweetness and can develop an unpleasant taste. Plus, overheating can break down the proteins that help create stable foam. To avoid this, always monitor your milk’s temperature. Use a thermometer if you have one, or feel the pitcher; it should be warm but not too hot to touch.
Using Fresh Milk
Using fresh milk is crucial for achieving great foam. Research shows that milk stored for up to two days maintains its foaming properties well. However, if you let it sit for nine days, you’ll notice a significant drop in its ability to froth. While the stability of the foam may remain, the volume you can achieve will suffer. So, always check the freshness of your milk before frothing. If it’s nearing its expiration date, you might want to skip it for your coffee creations.
By avoiding these common mistakes, you can improve your frothing technique and enjoy a better milk foam experience. Remember, practice makes perfect, so keep experimenting!
Creative Uses for Milk Foam
Flavoring Foam
You can take your milk foam to the next level by adding flavors! Here are some popular options that many coffee lovers enjoy:
Brown butter chocolate chip cookie
Sweet cream
Frosted sugar cookie
Peppermint mocha
Pumpkin pie spice
Caramel macchiato
Salted caramel mocha
Hazelnut
French vanilla
Sweet and creamy
Cold foam has also gained popularity since Starbucks introduced it in 2018. Now, various brands offer cold foam in different flavors, making it a fun addition to your drinks!
Decorative Techniques
Making your milk foam visually appealing can elevate your coffee experience. Here are some decorative techniques you can try:
Latte Art: Create beautiful designs like hearts and unicorns using warm milk foam.
Etching Technique: Use stencils or sticks to craft detailed patterns in the foam.
Intermediate Designs: Pouring techniques like Rosettas and Swans require rhythm and precision.
Advanced Techniques: Use a latte art pen to create intricate designs, including facial expressions and geometric shapes.
Recipes with Milk Foam
Milk foam isn’t just for drinks; it can enhance desserts too! For example, cheese foam is a key ingredient in milk tea. This creamy topping, made from cream cheese, heavy cream, whole milk, and salt, adds a delightful flavor to your tea.
Experimenting with these creative uses for milk foam can help you make coffee shop-quality lattes and cappuccinos right at home!
Creating perfect milk foam takes practice and experimentation. Remember these key points: choose the right milk, use the right tools, heat your milk properly, and master your frothing technique. Don’t hesitate to try different methods and share your experiences. Enjoy your frothing journey!
FAQ
What is the best milk for frothing?
Whole milk works best for frothing due to its higher fat content, creating a creamy milk foam. However, oat milk is also a great non-dairy option.
How do I know if my milk is overheated?
If your milk feels too hot to touch or exceeds 155°F (68°C), it’s likely overheated. This can ruin the foam quality.
Can I froth milk without a frother?
Yes! You can froth milk using a whisk, blender, or even a French press. Just ensure to incorporate enough air for good foam.